

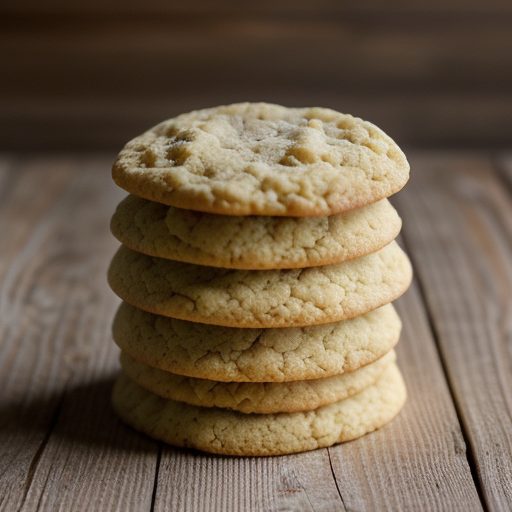
Christmas Ornament Cookies – Country Living
Description
These Christmas Ornament Cookies are a festive holiday tradition, featuring tender, buttery shortbread-like dough cut into classic bauble shapes. The secret to their perfect texture lies in the combination of butter and vegetable shortening, which ensures they hold their shape during baking without spreading too much. Once baked and cooled, the cookies are transformed into edible decorations using vibrant royal icing. A base coat of pale yellow provides a warm glow, while delicate piping in burgundy, teal, and violet adds intricate, jewel-toned details. These cookies are not only delicious with a hint of sweetness but also make for stunning holiday centerpieces or gift boxes. They are perfect for Christmas cookie exchanges, holiday parties, or simply adding a touch of sparkle to your winter celebrations.Ingredients
Directions
-
Preheat oven to 350&# 194;°F (177ðC). Lightly grease two baking sheets.
-
In a large bowl, beat the butter and vegetable shortening with an electric mixer on medium speed until creamy and well blended.
-
Add the sugar and beat until the mixture is light and fluffy.
-
Add the eggs one at a time, beating well after each addition.
-
In a separate medium bowl, whisk together the flour, baking powder, and salt.
-
Reduce mixer speed to low. Add half of the flour mixture to the butter mixture and beat until just combined.
-
Add the remaining flour mixture and beat until a soft dough forms. Do not overmix.
-
Divide the dough into 3 equal balls. Wrap each ball tightly in plastic wrap and refrigerate for at least 30 minutes to firm up.
-
While dough chills, prepare the Royal Icing: In a large bowl, beat confectioners' sugar, egg whites (or meringue powder mixture), and cream of tartar on low speed until mixed.
-
Increase speed to high and beat the icing for about 6 minutes until very thick, fluffy, and stiff peaks form. Cover tightly with plastic wrap to prevent drying.
-
Take one ball of dough out of the refrigerator. Place it between two sheets of waxed paper that are lightly floured.
-
Roll the dough out to a 1/8-inch thickness.
-
Remove the top sheet of waxed paper. Use a 7-inch bauble-shaped cookie cutter to cut out as many cookies as possible.
-
Transfer the cut-out cookies to the prepared baking sheets. Re-roll scraps if necessary to make more cookies.
-
Bake in the preheated oven for 10 to 12 minutes, or until the edges are just barely golden. Do not overbake.
-
Allow cookies to cool on the baking sheets for 5 minutes, then transfer to wire racks to cool completely.
-
Divide the royal icing into 4 portions: one medium bowl and three small bowls.
-
Tint the medium bowl of icing pale yellow. Tint the three small bowls with burgundy, teal, and violet food coloring respectively.
-
Using a pastry brush, paint the front of each cooled cookie with a thick coat of the pale yellow icing. Ensure you do not cover the hole at the top of the bauble.
-
Allow the yellow icing to dry completely, then paint a second coat if desired for opacity.
-
Once the yellow base is dry, use the pastry bags to pipe decorative lines, dots, and curls onto the cookies using the burgundy, teal, and violet icings.
-
Allow the decorated cookies to dry completely before storing in a single layer in an airtight container.
Nutrition Facts
Servings 36
- Amount Per Serving
- Calories 1499.5kcal
- % Daily Value *
- Total Fat 46.9g73%
- Saturated Fat 22.5g113%
- Cholesterol 251.0mg84%
- Sodium 2784.9mg117%
- Total Carbohydrate 240.3g81%
- Dietary Fiber 5.7g23%
- Sugars 81.2g
- Protein 27.8g56%
* Percent Daily Values are based on a 2,000 calorie diet. Your daily value may be higher or lower depending on your calorie needs.
christmas, cookies, ornaments, royal icing, cut-out, holiday, decorated, shortbread, festive, bauble, icing, dessert, gifts, party, tradition, country living, easy, family, winter, celebration
