

This classic “roll-the-can” method transforms simple pantry ingredients into a luxurious, creamy dessert without the need for an electric ice cream maker. By utilizing the freezing power of salt and crushed ice, you churn the mixture by rolling a sealed can back and forth on a hard surface. The result is a smooth, dense, and richly flavored ice cream that rivals store-bought brands. Perfect for hot summer days, backyard barbecues, or family gatherings, this recipe offers a fun, hands-on cooking experience. While traditionally made with dairy, the base can be adapted to suit various dietary preferences. It’s a delightful way to enjoy a homemade treat while engaging in a bit of physical activity to achieve the perfect scoopable texture.
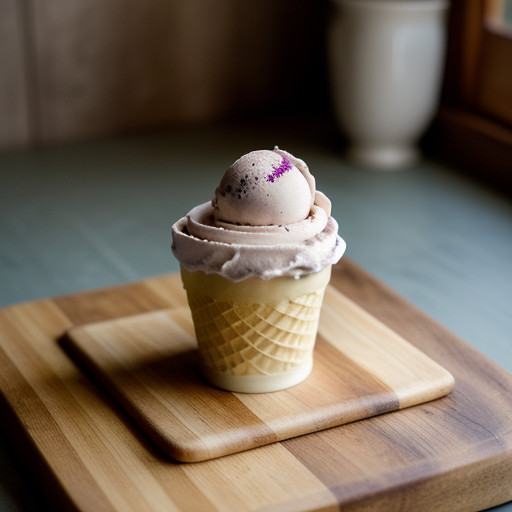
Roll-The-Can Ice Cream
Description
This classic "roll-the-can" method transforms simple pantry ingredients into a luxurious, creamy dessert without the need for an electric ice cream maker. By utilizing the freezing power of salt and crushed ice, you churn the mixture by rolling a sealed can back and forth on a hard surface. The result is a smooth, dense, and richly flavored ice cream that rivals store-bought brands. Perfect for hot summer days, backyard barbecues, or family gatherings, this recipe offers a fun, hands-on cooking experience. While traditionally made with dairy, the base can be adapted to suit various dietary preferences. It&# 226;ÂÂs a delightful way to enjoy a homemade treat while engaging in a bit of physical activity to achieve the perfect scoopable texture.Ingredients
Directions
-
In a mixing bowl, whisk together the heavy cream, milk, beaten egg, sugar, and vanilla extract until smooth and well combined.
-
If using fruit or raisins, fold them gently into the mixture now.
-
Pour the ice cream mixture into the smaller metal can.
-
Seal the small can tightly with its lid to prevent leaks.
-
Place the sealed small can into the center of the larger metal can.
-
Layer half of the crushed ice and half of the salt around the small can in the empty space of the large can.
-
Add the remaining ice and salt on top to completely surround the small can.
-
Seal the large can tightly with its lid.
-
Place the large can on a hard, level surface such as a patio or concrete walkway.
-
Roll the can back and forth vigorously for 10 minutes.
-
Open the large can and carefully remove the old ice and melted water mixture.
-
Lift out the small can, wipe the lid dry, and remove the lid.
-
Using a table knife or spatula, scrape the sides of the small can so the semi-frozen mixture falls to the center.
-
Stir the mixture briefly to distribute any fruit or mix-ins, then cover the small can again.
-
Return the small can to the large can and repack with fresh ice and salt if needed.
-
Seal the large can and roll back and forth for another 5 minutes.
-
Open the cans, remove the small can, and serve the ice cream immediately.
Nutrition Facts
Servings 2
- Amount Per Serving
- Calories 442.0kcal
- % Daily Value *
- Total Fat 35.0g54%
- Saturated Fat 20.0g100%
- Cholesterol 200.0mg67%
- Sodium 50.0mg3%
- Total Carbohydrate 30.0g10%
- Dietary Fiber 0.5g2%
- Sugars 28.0g
- Protein 6.0g12%
* Percent Daily Values are based on a 2,000 calorie diet. Your daily value may be higher or lower depending on your calorie needs.
Note
Ensure the small can is sealed very tightly before placing it in the ice bath to prevent salt water from contaminating the ice cream.
The rolling action requires physical effort; take turns if doing this with children or guests.
For a vegan version, substitute heavy cream and milk with coconut cream or almond milk, and omit the egg.
If the ice cream is too soft, continue rolling for an additional 5-10 minutes. If it is too hard, let it sit at room temperature for 5 minutes before serving.
This recipe yields approximately 2 servings. Any leftovers can be stored in an airtight container in the freezer for up to one week.
