

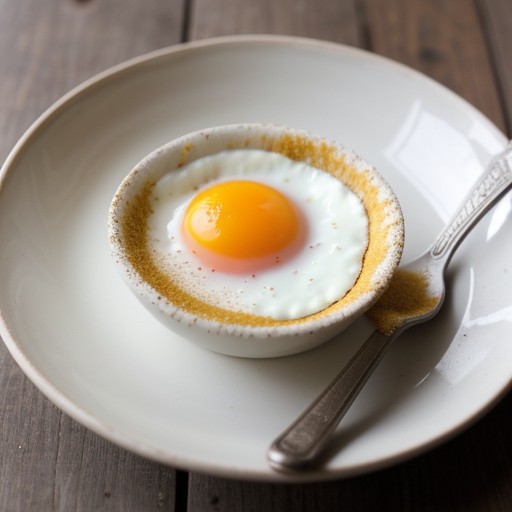
No Bake Egg Rub
Description
This luxurious frozen dessert combines the silky texture of a cooked custard with the warm, spicy notes of fresh cardamom and deep vanilla. The base is made by tempering egg yolks with sugar and a rich mixture of whipping cream and half-and-half, resulting in a dense, creamy mouthfeel. The inclusion of a whole vanilla bean split down the center adds an authentic, floral aroma that artificial extracts cannot match. Ideal for special occasions or as a sophisticated finish to a dinner party, this recipe requires chilling overnight to develop its full flavor profile before churning. It is a classic technique that yields a smooth, scoopable ice cream free of ice crystals, perfect for serving with fresh berries or a drizzle of honey.Ingredients
Directions
-
In a small heavy-bottomed saucepan, slowly bring the half-and-half to a boil, then remove from heat and chill in the refrigerator overnight or briefly in the freezer.
-
In a bowl, cream the egg yolks and 5 1/2 tablespoons of sugar until pale and thick, then set aside.
-
In a 2-quart saucepan, combine the whipping cream, remaining 5 1/2 tablespoons of sugar, and the split vanilla bean.
-
Slowly bring the cream mixture to a boil, stirring frequently.
-
Remove the vanilla bean from the cream; using the point of a paring knife, scrape the vanilla grains from inside the hull.
-
Rub the bean with your fingers to remove any remaining cream or vanilla grains, mixing them into the cream, then return the cleaned pods to the cream.
-
Stir the ground cardamom into the cream mixture.
-
While whisking constantly, slowly pour about one-third of the hot cream mixture into the egg yolk mixture to temper the eggs.
-
Pour the tempered egg mixture back into the saucepan with the remaining cream, whisking constantly.
-
Cook over medium heat, stirring constantly, until the mixture thickens slightly and reaches just under the boiling point.
-
Immediately remove from heat and place the saucepan in a bowl of ice water to stop the cooking process.
-
Stir the custard frequently until it is completely cool.
-
Beat in the chilled half-and-half.
-
Cover and refrigerate the custard overnight to chill thoroughly.
-
Strain the custard to remove the vanilla pods before churning.
-
Pour the chilled custard into an ice cream maker and churn according to the manufacturer's directions.
Nutrition Facts
Servings 4 servings
- Amount Per Serving
- Calories 764.6kcal
- % Daily Value *
- Total Fat 45.2g70%
- Saturated Fat 19.7g99%
- Cholesterol 896.0mg299%
- Sodium 68.1mg3%
- Total Carbohydrate 69.1g24%
- Dietary Fiber 12.4g50%
- Sugars 50.0g
- Protein 23.0g46%
* Percent Daily Values are based on a 2,000 calorie diet. Your daily value may be higher or lower depending on your calorie needs.
ice cream, custard, cardamom, vanilla bean, egg yolks, whipping cream, half and half, frozen dessert, churned, rich, creamy, spice, homemade, luxury, sweet, indulgent, classic, tempering, chilling
