

This classic Middle Eastern flatbread is incredibly simple to make yet delivers impressive results. The dough comes together quickly with just flour, water, yeast, and a touch of honey for browning. Baked at high heat, the steam created inside causes the bread to puff up, forming a convenient pocket perfect for holding fillings. The texture is soft and chewy on the inside with a slightly crisp exterior. It pairs beautifully with hummus, falafel, grilled meats, or warm olive oil and za’atar. Ideal for casual family dinners, potlucks, or as a healthy alternative to sandwich bread, this recipe ensures you always have fresh, homemade pita on hand. It is naturally vegan and gluten-free if you swap the flour.
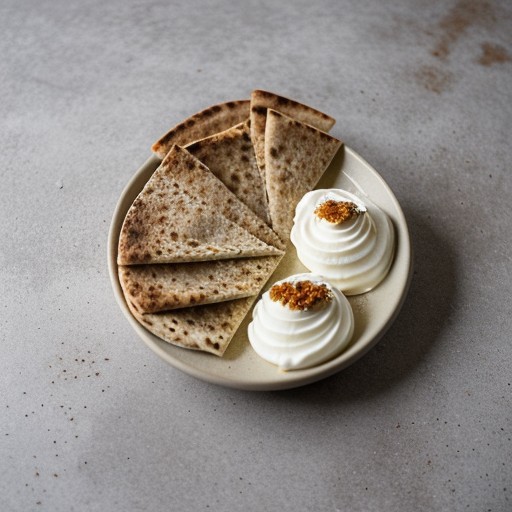
Pita-Middle-Eastern-Flat-Bread-Kimaje
Description
This classic Middle Eastern flatbread is incredibly simple to make yet delivers impressive results. The dough comes together quickly with just flour, water, yeast, and a touch of honey for browning. Baked at high heat, the steam created inside causes the bread to puff up, forming a convenient pocket perfect for holding fillings. The texture is soft and chewy on the inside with a slightly crisp exterior. It pairs beautifully with hummus, falafel, grilled meats, or warm olive oil and za'atar. Ideal for casual family dinners, potlucks, or as a healthy alternative to sandwich bread, this recipe ensures you always have fresh, homemade pita on hand. It is naturally vegan and gluten-free if you swap the flour.Ingredients
Directions
-
In a small bowl, combine the yeast, honey, and 1/2 cup of the warm water. Stir gently and let stand for 10 minutes until the mixture becomes frothy and bubbly.
-
In a large mixing bowl, combine 4 cups of the flour and the salt.
-
Pour the yeast mixture and the remaining 2 cups of warm water into the flour mixture.
-
Mix vigorously with a wooden spoon or dough hook for about 1 minute until a shaggy dough forms.
-
Sprinkle in 1 more cup of flour and continue mixing until the dough becomes too stiff to stir.
-
Turn the dough out onto a lightly floured surface.
-
Knead the dough for 8 to 10 minutes, adding small amounts of flour as needed, until the dough is smooth, elastic, and medium-stiff.
-
Divide the dough into 12 equal-sized balls.
-
Cover the dough balls with a damp towel and let them rest for 5 to 10 minutes.
-
Preheat your oven to 450&# 194;°F (230ðC). If you have a pizza stone, place it in the oven to heat up.
-
Roll each dough ball out on a floured surface into a circle about 6 to 8 inches in diameter and 1/4 inch thick.
-
Place the rolled-out pitas on a baking sheet or directly onto the hot pizza stone.
-
Bake for 5 to 7 minutes, or until the pitas puff up significantly and develop light brown spots.
-
Remove from the oven and wrap immediately in a clean kitchen towel to keep them soft.
Nutrition Facts
Servings 12
- Amount Per Serving
- Calories 477.8kcal
- % Daily Value *
- Total Fat 1.2g2%
- Saturated Fat 0.2g1%
- Cholesterol 0.0mg0%
- Sodium 14627.6mg610%
- Total Carbohydrate 101.2g34%
- Dietary Fiber 3.4g14%
- Sugars 6.5g
- Protein 12.5g25%
* Percent Daily Values are based on a 2,000 calorie diet. Your daily value may be higher or lower depending on your calorie needs.
Note
Storage: Store cooled pita bread in an airtight container at room temperature for up to 3 days, or freeze for up to 3 months. Reheat in a toaster or skillet before serving.
Water Temperature: Ensure the water is warm (around 110ðF/43ðC), not hot, to avoid killing the yeast. If the water is too cool, the yeast may not activate properly.
Kneading Tip: The dough should be slightly tacky but not sticky. If it sticks excessively to your hands, add a little more flour. If it feels dry and cracks, add a teaspoon of water.
Cooking Variation: You can also cook the pitas on a cast-iron skillet over medium-high heat for about 1-2 minutes per side until they puff up.
Ingredient Note: The original recipe listed "Salt" as 1 tablespoon, which is excessively salty for this amount of dough. It has been adjusted to 1 teaspoon for better flavor balance.
