

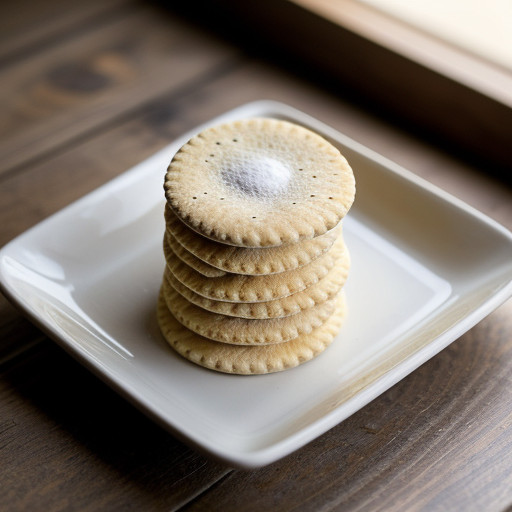
Traditional Soda Crackers
Description
These traditional soda crackers offer a delightful crunch and a subtle, savory depth that store-bought versions often lack. The secret lies in the long, slow fermentation process which develops complex flavors without overpowering yeast notes. Neutralized with baking soda, the dough becomes tender yet crisp when baked. They are perfect for serving alongside cheese, soups, or as a healthy snack.Ingredients
Directions
-
In a small bowl, combine the yeast, sugar, and warm water. Set aside until the yeast is fully dissolved and foamy, about 5 to 10 minutes.
-
Measure 3 1/2 cups of the all-purpose flour into a large mixing bowl.
-
Stir the yeast mixture into the flour and mix well to form a shaggy dough.
-
Cover the bowl tightly with plastic wrap and let the dough rest in a warm place for 20 to 30 hours. This long fermentation develops flavor without strong yeast notes.
-
In a small bowl, dissolve the baking soda in the 1 tablespoon of water.
-
To the fermented dough, add the baking soda mixture, buttermilk (2 tablespoons plus 2 teaspoons), salt, and shortening. Mix well.
-
Gradually mix in the remaining 1/2 to 1 cup of flour as needed to form a stiff, non-sticky dough.
-
Knead the dough for 1 to 2 minutes, then cover with plastic wrap and let rest for 15 minutes.
-
On a lightly floured surface, knead the dough for a few more minutes until it becomes smooth and springy to the touch.
-
Place the dough in a large, clean, lightly oiled bowl, cover with plastic wrap, and let rest for another 3 to 4 hours to relax the gluten.
-
Preheat the oven to 450°F (230°C).
-
Punch the dough down and knead a few strokes to deflating it. Divide the dough into 3 equal portions.
-
On a floured surface or pastry cloth, roll out one portion of dough into a rectangle approximately 1/4 inch thick.
-
Fold the left third of the dough over the center third, then fold the right third over the center to create a three-layer packet with a vertical seam.
-
Turn the dough a quarter turn so the seam runs horizontally. Roll out again to a rectangle about 1/4 inch thick.
-
Fold and turn the dough again as before to create more layers.
-
Roll the dough out thinly, about 1/16 to 1/8 inch thick, for the final layer.
-
If desired, sprinkle the top lightly and evenly with salt and roll over it gently with the rolling pin to adhere.
-
Using a sharp knife, cut the dough into 2-inch squares.
-
Place each square on an ungreased baking sheet. Prick each square 2 or 3 times with the tines of a fork to prevent puffing.
-
Bake for 8 minutes.
-
Turn the crackers over and bake for an additional 1 to 3 minutes, or until lightly browned and crisp.
-
Cool completely on a wire rack before storing.
Nutrition Facts
Servings 2 cups
- Amount Per Serving
- Calories 7.0kcal
- % Daily Value *
- Total Fat 0.1g1%
- Saturated Fat 0.0g0%
- Cholesterol 0.0mg0%
- Sodium 11.7mg1%
- Total Carbohydrate 1.4g1%
- Dietary Fiber 0.1g1%
- Sugars 0.0g
- Protein 0.2g1%
* Percent Daily Values are based on a 2,000 calorie diet. Your daily value may be higher or lower depending on your calorie needs.
